The beginner’s guide to model car painting
Have you always had a passion for cars, and fancied trying out a new hobby painting miniature models, but not know where to start? Then this is the guide for you.
Painting miniatures can be very rewarding. It is therapeutic, helps with hand-eye coordination, and at the end of it all, you have something great you can proudly put on display as a record of your achievement and new skills. Getting started is easy with a little investment in the right tools and materials you will be happily painting away the afternoon for hours. Here are some hints and tips to help you get going.
Choose your painting station carefully
Step one should be to decide where you are going to do your new hobby. The kitchen table might not be the best option when you consider that you could be using airbrushes and will have to leave out your model to dry for hours when the family is going to need to eat their dinner there in a few hours.
Similarly, a garage or shed is perfect, but only if you are able to get them clean enough. A dust free environment is pretty important when it comes to getting a great paint finish. Remember you also need pretty good ventilation if using certain solvent-based products. You don’t want to suddenly keel over half way through a project!
Get a really good airbrush and treat it with respect
There is a huge range of airbrushes available, so make sure you do some research. Don’t be overwhelmed by phrases like ‘double action internal mix airbrush’ – there are some great videos and guides online that can help demystify this.
For a beginner – you’ll likely be using pre-mixed model car paints, so bear that in mind when choosing. You’ll also use the same airbrush for applying primer before the paint.
It is worth getting used to some of the terminology around actual parts of the airbrush. The airbrush itself will connect via a hose to some sort of airbrush compressor which will control the air pressure (important for an even flow of paint).
The tip of the airbrush controls the direction and thickness of the paint using a nozzle and a needle, and these come in different sizes depending on what you are painting. For model cars, you will likely need a smaller one.
Once you have chosen and purchased your airbrush, you need to take the time to fully understand how it works, and also how to clean it thoroughly. Cleaning an airbrush is vital, and you will need to buy the right solution to do it, such as acetone or nitrocellulose thinner, and for the best cleaning of the parts of the brush try an ultrasonic cleaner.
Get a good primer – you should always prime before painting
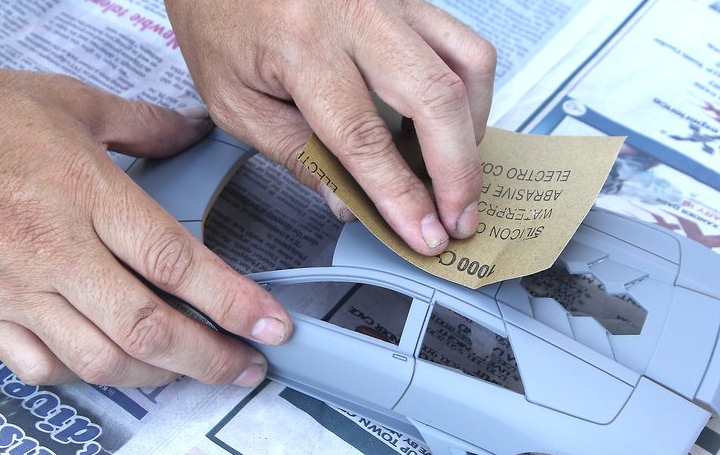
A primer will help the paint adhere to the model in a much better way. Typically primers come in two colours – light and dark – and will include micro fillers to help smooth out any minor scratches or defects, without affecting the design detail. You will need to apply in very thin coats with the airbrush and make sure there is good drying time before using paints.
Take your time when painting
Good model car paints should be solvent based, base coat lacquer paint. Preferably pre-mixed to the right consistency to be used in your airbrush like with Gravity Colors.
You also want to choose something with quick drying time, to limit the possible damage that could be done while the paint is wet.
When it comes to applying the paint itself, take as much time as you need. Do a couple of practice sprays on some paper to get a feel for the rate the paint comes out. Then start with thin even coats, working up to slightly thicker coats in the final stages.
Again make sure it dries properly, and don’t be tempted to rush and do a really thick coat, you risk the paint running and ruining all your hard work. Finally to bring the model up to a really good shiny finish, apply a final layer of top coat clear gloss and allow to harden fully. And there you go! One perfect first model, and ready to start the next!